Interview Binder Checklist
How to organize your documents for the embassy. Print-friendly reference.
Why a binder? The embassy doesn't require one, but it helps you stay organized and shows the officer you're taking the process seriously. Keep it clean, avoid excessive highlighting, and include a simple table of contents.
⭐ Front section — immediate access Medical · Doc check · Interview
Section 1 — Medical documents Medical + doc check
Section 2 — Civil documents (originals + copies) Doc check + interview backup
Section 3 — Financial documents (copies) Interview backup only
All financial documents must already be uploaded to CEAC. The officer will not accept new documents at the interview window.
Section 4 — Identity & travel documents Interview backup
Section 5 — Supporting / case-specific As needed
Section 6 — Optional (rarely requested) Backup only
Organization tips:
- Use clear, adhesive tabs for each section (not loose sticky notes)
- Include a table of contents at the front
- Avoid excessive highlighting; use simple yellow only for key dates
- Keep originals in the binder; bring copies separately
- Organize documents chronologically within each section
- Include brief labels or notes to help the officer navigate
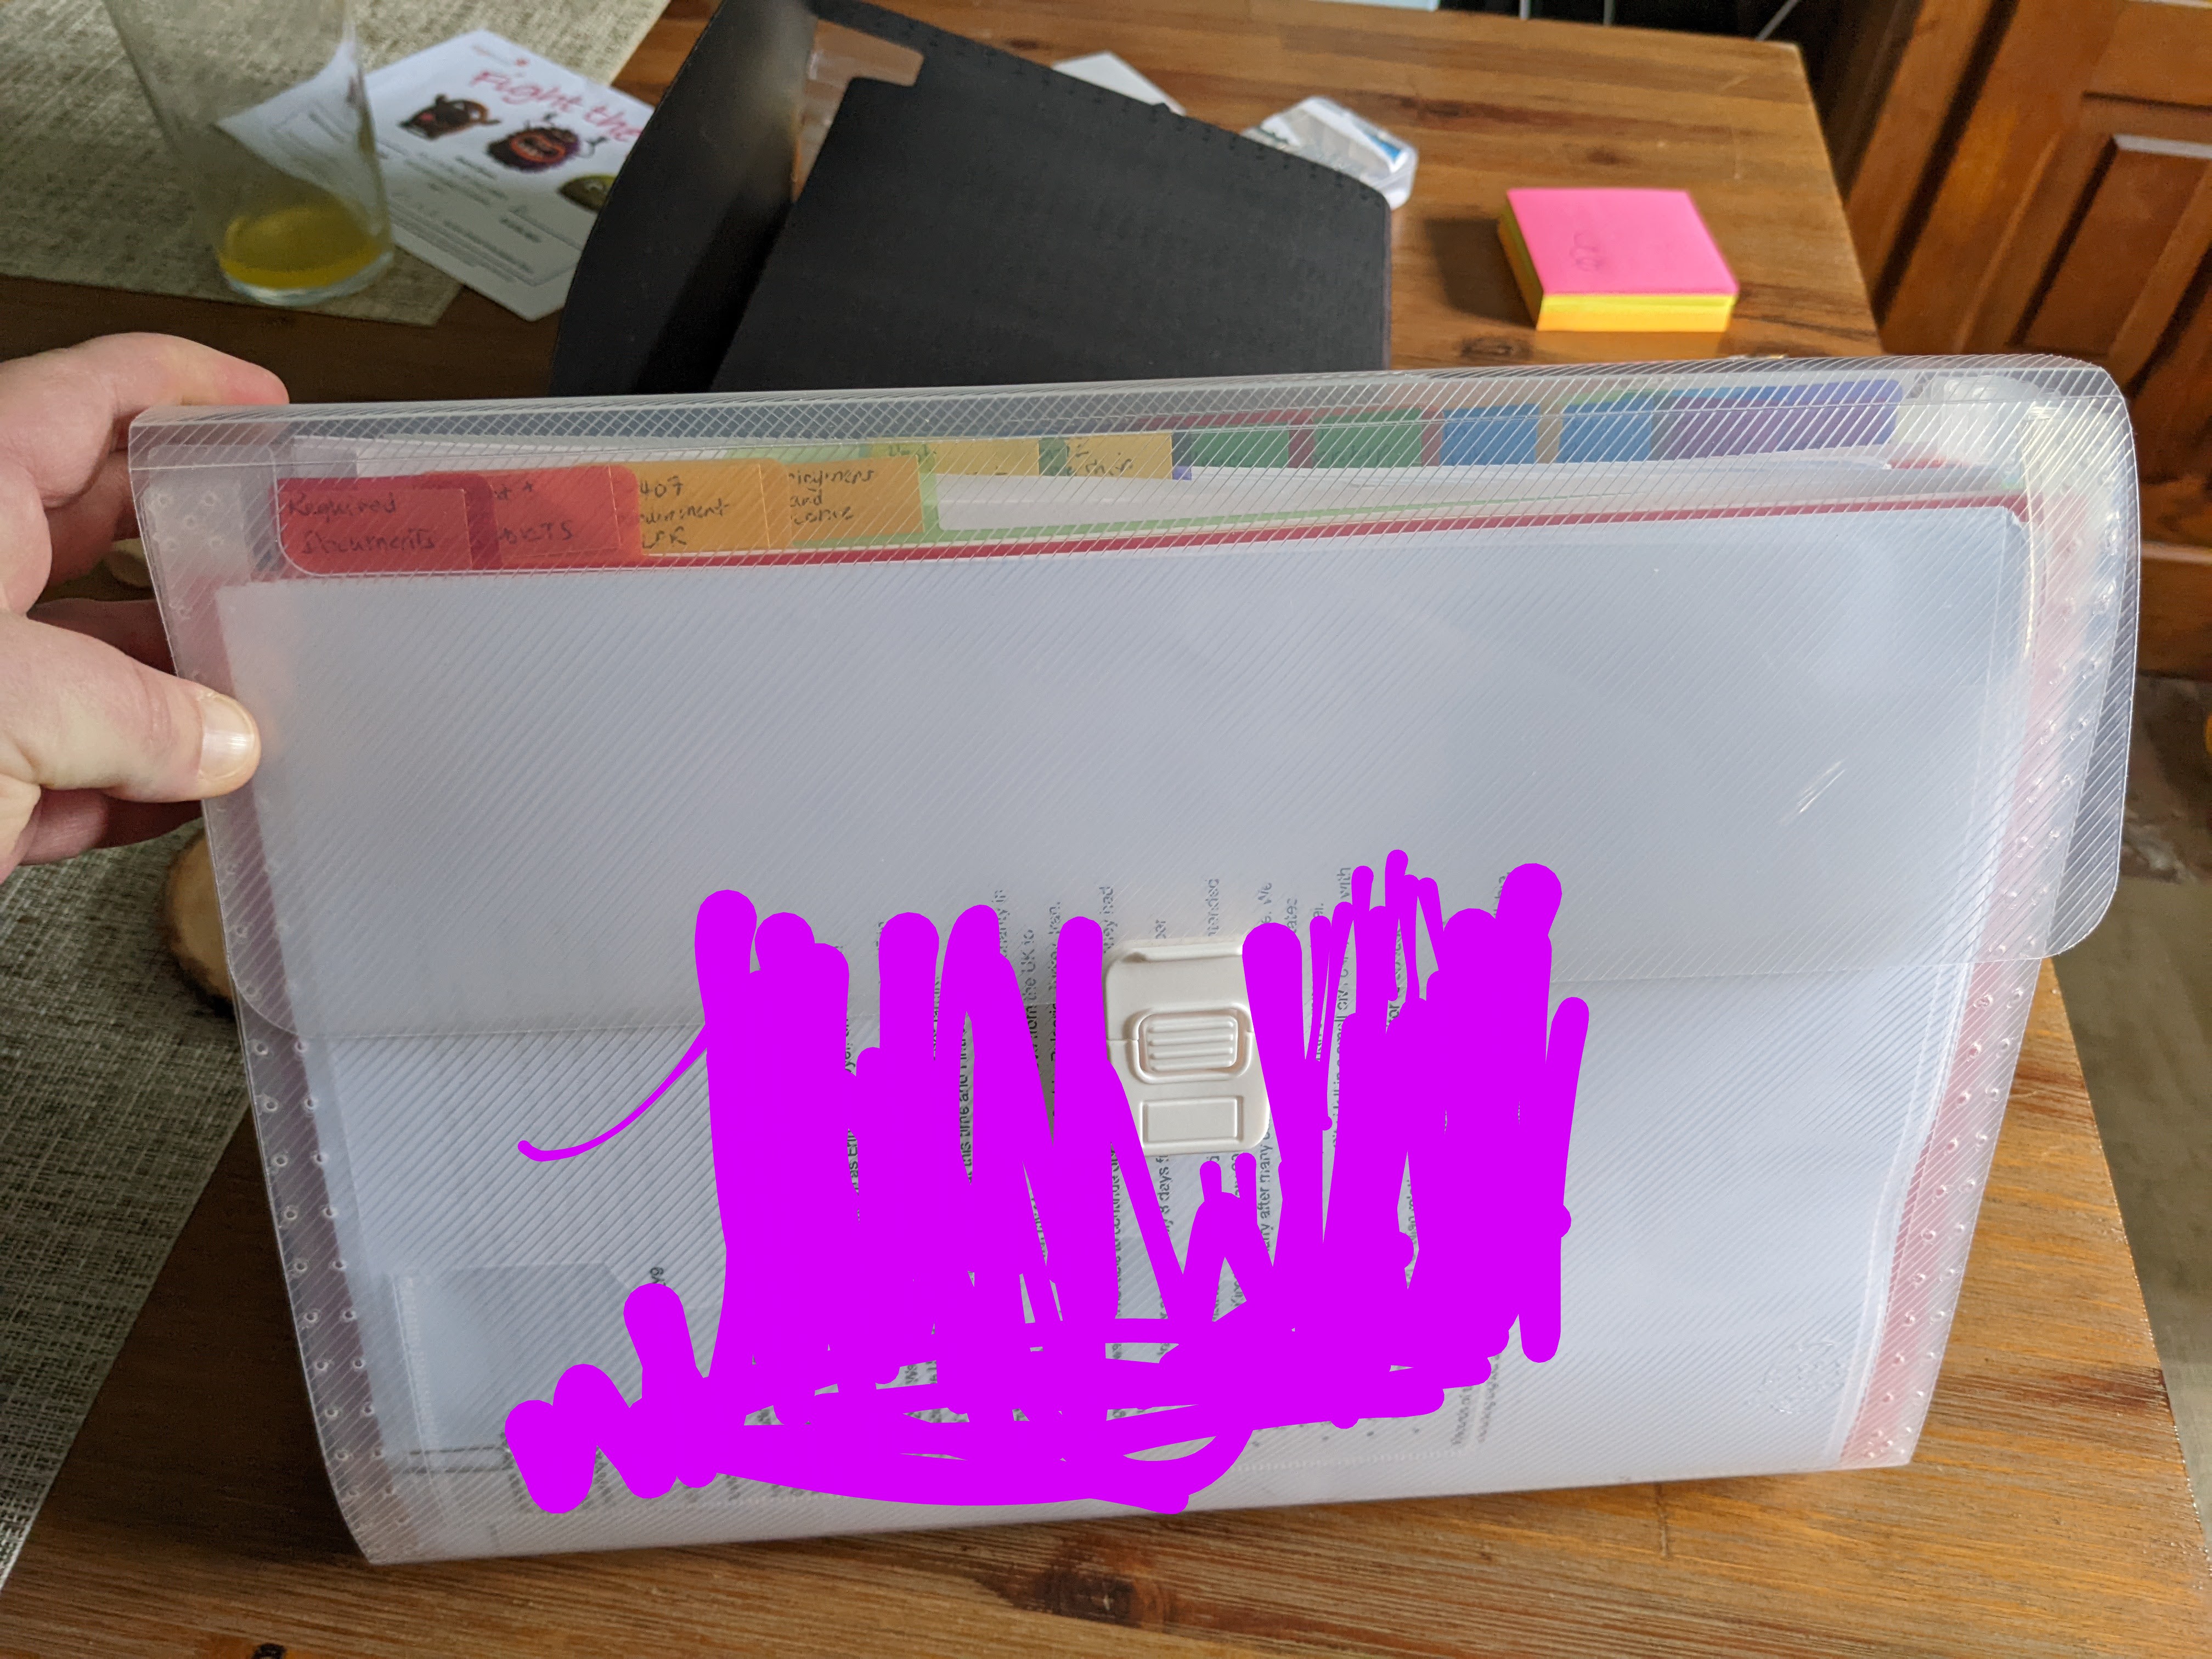
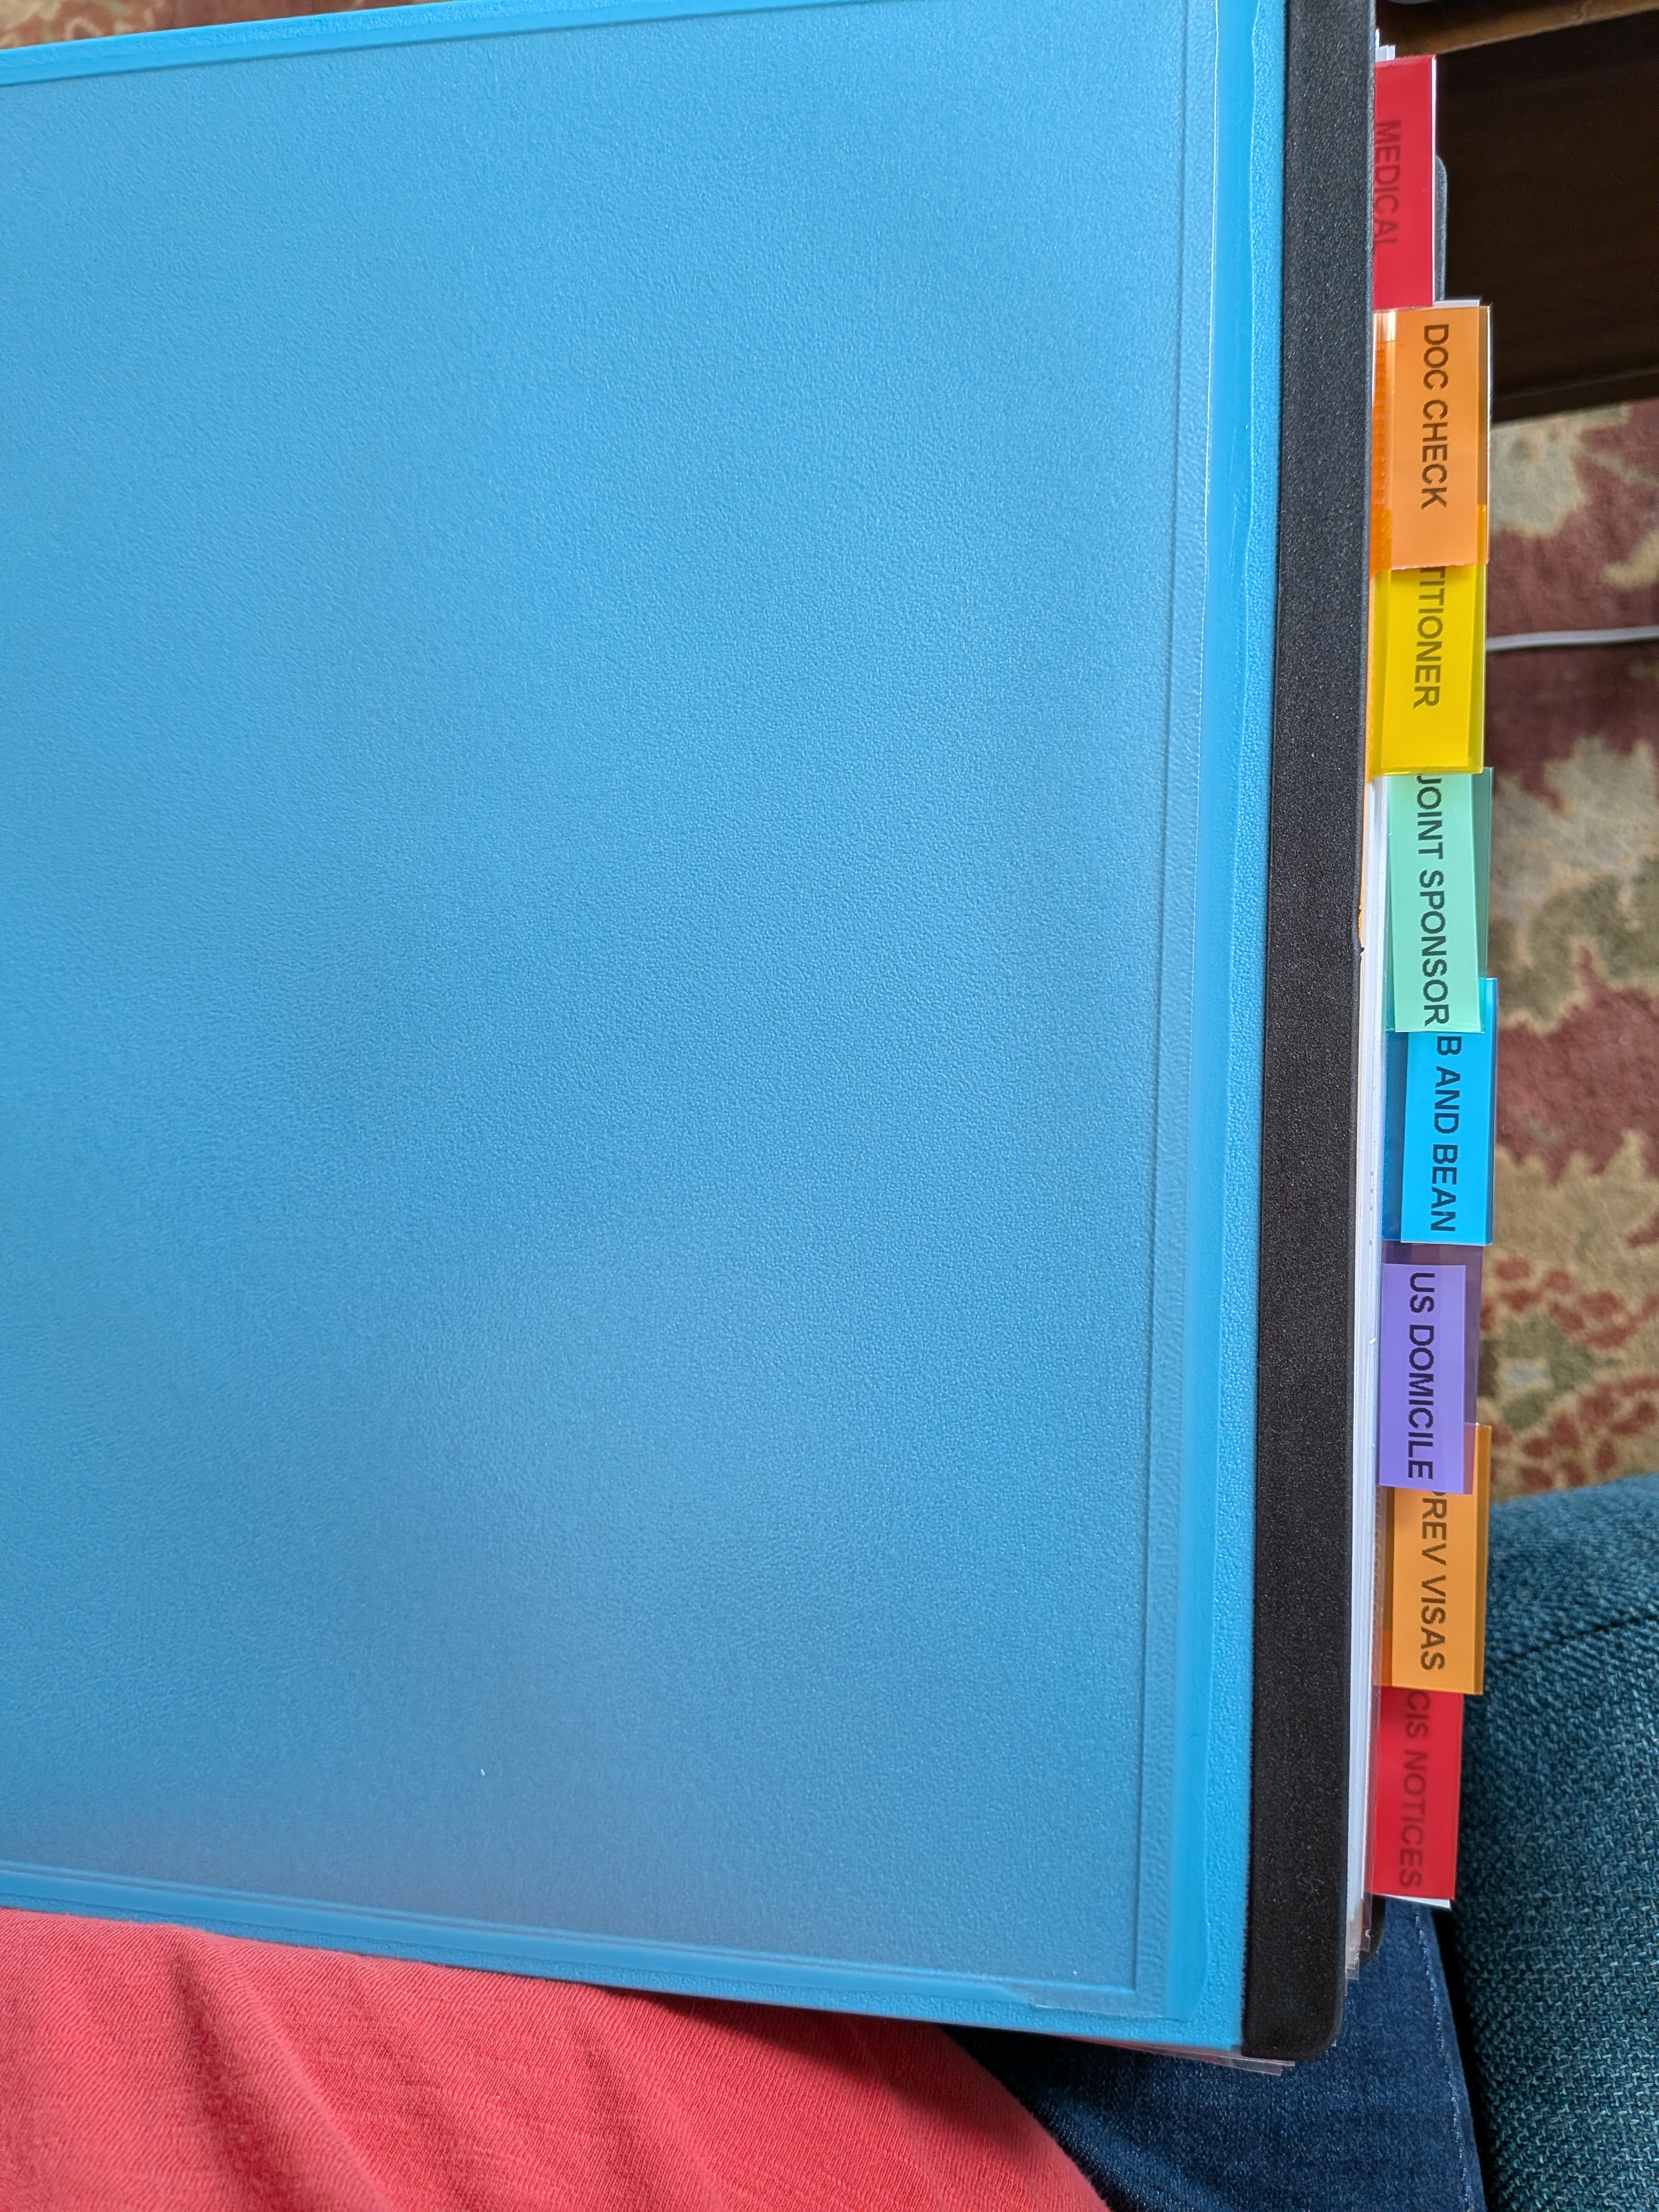
Binder setup options
Organisation matters — having documents in labelled sections makes the document check faster and less stressful. Here are two setups that members have used:
Which sections for each appointment
| Appointment | Bring |
|---|---|
| Medical | Front section + Section 1 |
| Document check | Front section + Section 1 + Section 2 |
| Interview | Front section primarily — Sections 2–4 as backup if asked |
Disclaimer: This is not legal advice. Verify all requirements against official sources before your appointment. If your case is complex, consult an immigration attorney.